DSLR For Beginners: What I Learned My First Month With A Camera

11:15 PM

First step: find a camera that you like and buy it. I went to various big box electronics stores to put my hands on different cameras. I knew I wanted either Canon and Nikon, so I just put different versions in my hands and I decided that I liked the Canon interface better. The T1i was the cheapest Canon DSLR that I could find, and I happened to find one on craigslist with the kit lens and an extra battery.
I was ready to go. I had about 2 weeks to practice with the camera before embarking on my trip. Here’s what I learned.
Photography was harder than I thought
I didn’t understand composition, aperture, shutter speed, depth of field, white balance… the list goes on! All these concepts were foreign to me. However, being an audio engineer, I did have an innate grasp on ISO. It’s just like audio gain; gain makes your mic more sensitive to sound, and ISO makes your sensor more sensitive to light. Turn it up to 11! 
However, photography really wasn’t coming naturally to me. It wasn’t clicking how to make three seemingly simple settings work together to create a properly exposed image, and I was feeling defeated. So rather than continuing to teach myself, I turned to where I just happen to work – CreativeLive. I had, at that point, previously worked onJohn Greengo’s Fundamentals of Photography workshop so I knew I could trust his knowledge, teaching style, and thoroughness to set me up with my camera. This workshop is still one of my favorite CreativeLive courses. I can’t recommend it highly enough to any budding photographers. It took the shock out of taking the plunge into DLSR Lake!
The Importance of Fundamentals
For two weeks, I practiced with depth of field and struggled with shutter speed. I took a lot of boring and blurry photos. I didn’t have a point of reference for how fast a shutter closed. It seems like 1/1000th of a second is really fast. And it also seems like 1/100th of a second is really fast. I mean, really, it seems like 1/15th of a second is really fast. I can’t do anything in 1/15th of a second!
blurry foot

How do you figure out how fast the shutter speed has to be to freeze action? I found the answer in Fundamentals of Photography and especially in the bonus materials! I found a stellar breakdown that provided me nine points of reference for shutter speeds. After studying the breakdown, I decided that I would make sure my shutter speed was always above 1/125th of a second to get sharp images. It wasn’t science, but it was a starting place.
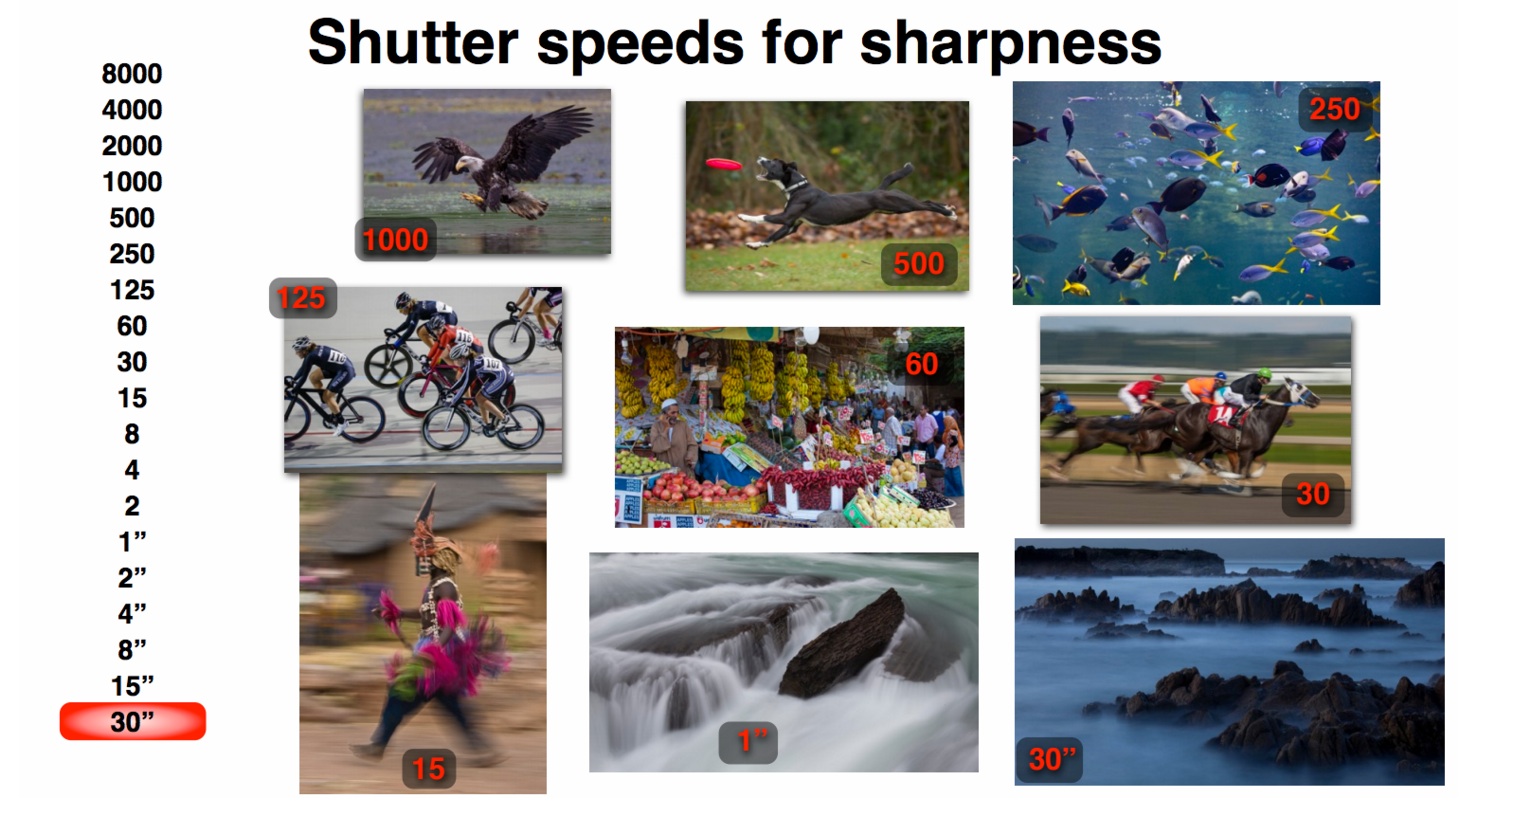
shutter speeds for sharpness

Something else that was really important to my learning process was going through every menu and setting on my camera, trying to understand every function. The more I understand my tools, the more I can focus on the art or moment or adventure. Learning the fundamentals is so important because it lets you focus on your goal, rather than your tool. 
Mistakes happen :) 
It was time to embark on my journey. Peru, here I come! I was flying from San Francisco so I had a lot of time in the air and what better way to spend it than playing with my camera? The camera still felt so foreign in my hands. I was overwhelmed by the amount of things I didn’t know.
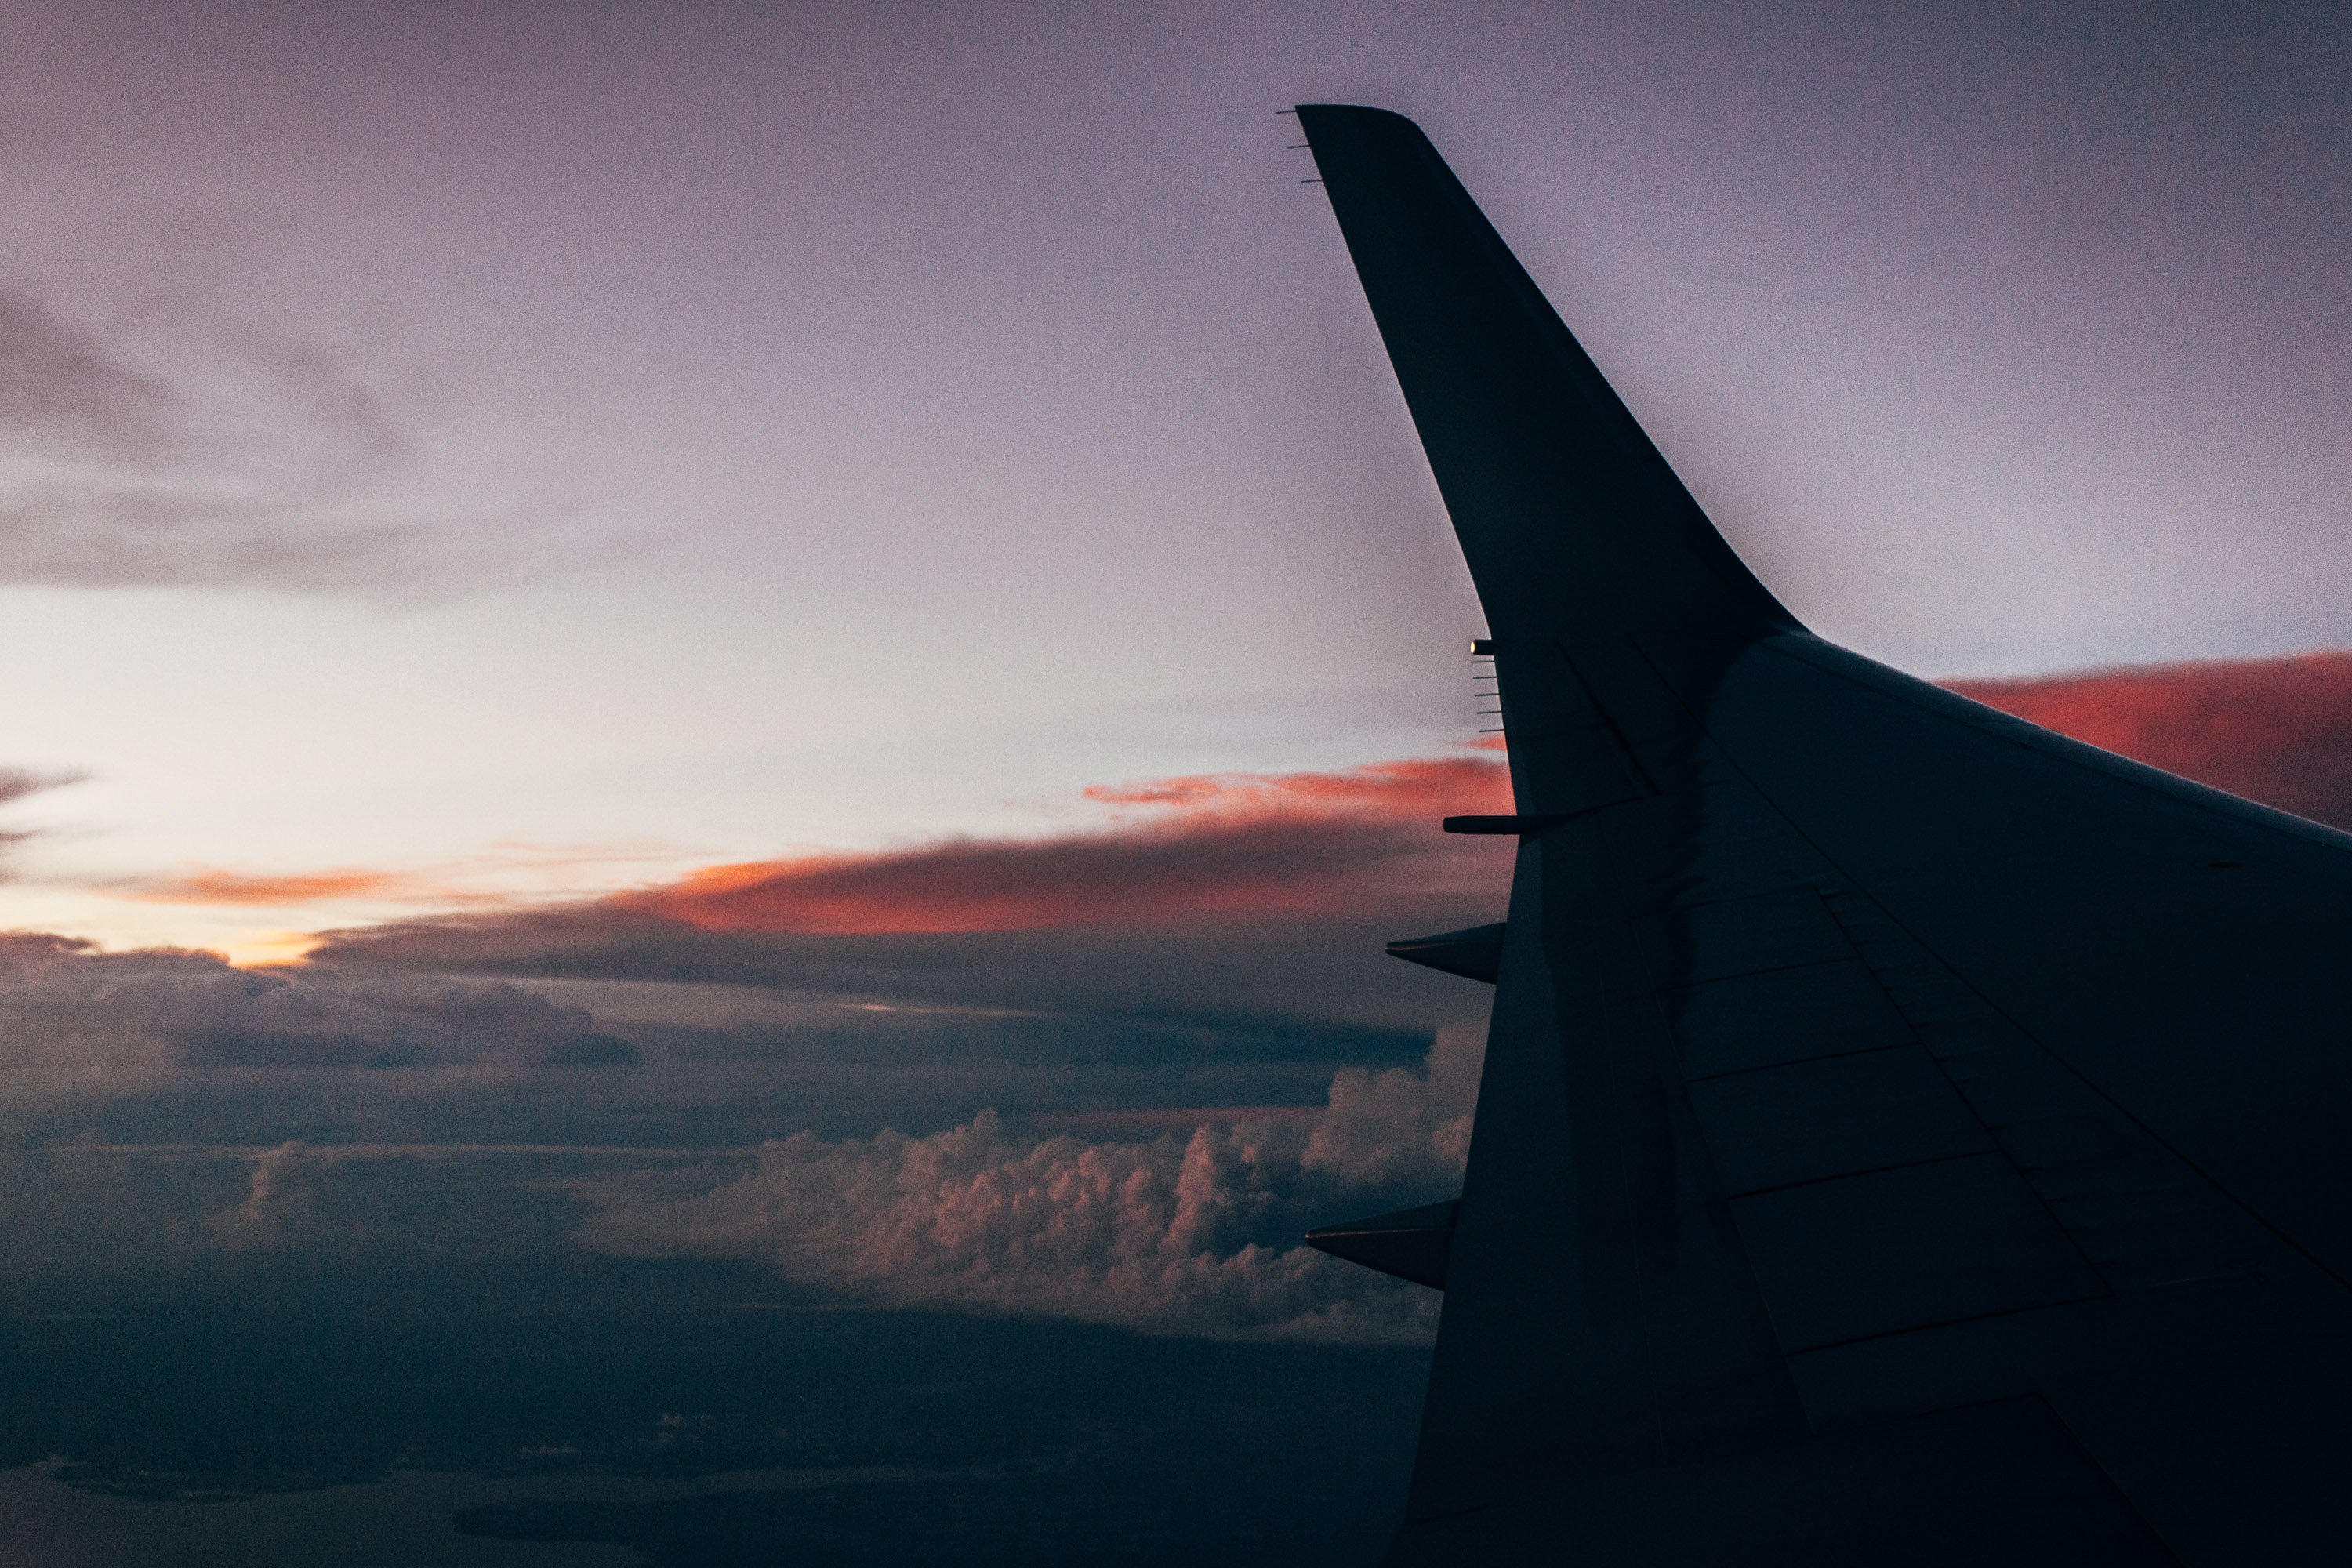
airplane wing

So, I continued going through every setting. Trying to learn every button. I adjusted picture profiles. I adjusted white balance (which is something I still struggle with. Auto White Balance is good enough for me; I shoot RAW anyways.) I adjusted the diopter. Whoops. I shouldn’t have done that!
I’m actually not sure if I intentionally adjusted the dial that sets the viewfinder’s relative focus or if I nudged it at some point, but I am sure that I didn’t realize what I had done until I got back to the states and I realized why while I was shooting everything just seemed – a bit off. A bit soft. Or out of focus. I’m not really sure if I had the photographical dialect to explain what was going on. I figured I was probably just a really bad photographer. It turns out, I just needed more practice with my tool! Once I fixed my diopter blunder, photography got a lot more fun. Everything started to click. 
The easiest way to learn is to just shoot away!
I had my camera in my hands and held up to my face the entire trip. I didn’t go anywhere without it. I took a lot of bad photos, like, a lot. I also took a lot of photos that I’m proud of and so happy to have to remember the things I saw and people I met.
Who cares if everything is blurry, out of focus, too dark, too bright? That’s literally the worst-case outcome from pressing the shutter. I haven’t regretted a single picture I’ve taken.
Whether you’ve got a big vacation coming up that you want keepsakes from, your kids are going through their awkward phase and you want blackmail material, or you just need a new challenge and creative outlet, I can’t recommend DSLR photography highly enough. And if you’re nervous about the high learning curve, check out John Greengo’s Fundamentals of Photography workshop.
Source: http://blog.creativelive.com/

10 camera techniques every beginner photographer should learn

11:05 PM

While it can take years to master the camera techniques you need to take amazing images, whatever your skill level and whatever you choose to shoot, it often pays to keep things simple. 
To help you along we’ve put together 10 essential camera techniques every photographer should master. We’ll start with taking control of focus then move on to using features like exposure compensation, white balance and more.
What is shutter speed: everything the beginner photographer needs to know

From focusing and photo composition to white balance and lighting, this straightforward guide should cement your basic shooting skills, rid you of bad photo habits, and leave you to concentrate on simply getting better images.
When trying out these techniques it’s often recognising what could go wrong that will help youavoid making the same mistakes over and over again.
So with that in mind, we’ve also included handy examples of common problems and mistakes that can happen to anyone, whatever their experience, and how best to correct them.
But don’t be afraid of making mistakes; it’s how everyone learns a new skill.

Camera Techniques for 2014: 01 Take control of focus

10 camera techniques to master in 2014: Take control of focus
eave your camera to its own devices and it will focus using the central focus point. While this will produce sharp images in many situations, for more creative photography it’s better to take some control over the focus point.
Your chosen subject won’t always be in the centre of the frame, after all.
So the first skill you need to master is how to get your camera to focus on exactly the point that you want to be sharp.
Your camera has a number of focus points spread across the frame – you can see them through the viewfinder – and these offer an excellent solution for focusing on off-centre subjects.
You’ll need to set your camera to its single-point autofocus mode, rather than the multiple or automatic selection.

Select individually
The exact procedure for selecting individual focus points (and the number available) varies according to your camera, but generally on Canon models you have to press the AF point selection button, then rotate the input dial or use the selector on the rear of the camera.

Look through the viewfinder as you do so, and you’ll see the active AF point (in red) move around the frame.
On most Nikon SLRs, once you’ve selected single-point autofocus you simply use the four-way controller on the back of the camera to highlight a different AF point.
The main downside to using the outer focus points on many cameras is that they aren’t as sensitive as those in the centre of the frame.
This means that they can struggle to focus in low light, if the subject is low contrast or you are using a lens with a maximum aperture of f/5.6 or narrower.
You may also find that there isn’t a focus point exactly where you want the camera to focus.

In both cases you can manually focus the lens, or use a technique known as focus lock, where you highlight the subject with the active AF point and then half-press the shutter release to lock the focus distance before reframing the shot.

Get white balance accurate every time

In this next section we’ll take a look at your camera’s white balance settings and how you can get the most accurate colours possible.
10 camera techniques to master in 2014: master white balance settings for accurate colours
You might forget all about setting the right white balance – especially if you shoot in raw, as then you can change it when you process your images later.
However, you’ll need to get the right white balance in-camera to be able to assess the exposure and colours of your shots and achieve the best results.
Strong colours
Your camera’s Automatic White Balance setting generally does a pretty good job of capturing colours correctly in most lighting conditions, but it’s not infallible.
The main situation in which you’ll get better results by using one of the manual preset values is when your subject is dominated by a single colour or tone, such as a blue sky, orange sunset or even a large expanse of green grass.
In these situations Automatic White Balance can set a value to counteract this strong colour, so you will get better results by selecting a white balance setting that suits the lighting conditions, such as Sunlight or Shade.
The actual white balance of the light at sunrise or sunset is close to the Tungsten or Artificial Light setting (3,200K). But if you set this preset you will lose much of the warmth that you want to capture in your shot.
Instead, try setting the white balance to Daylight, or even Cloudy, to capture the orange glow in all its beauty.

Set a custom white balance… in-camera or on the computer

For precise colours, you’ll need to take control and create a ‘custom’ white balance setting for the light you’re shooting in. There are a number of white balance aids available to help you do this – such as the JJC White Balance Lens Cap (£11) – but all you really need is a piece of white or grey card or a sheet white paper!
Once you’ve got that, try these two simple techniques for creating custom settings either in-camera, or when you process your pictures in software.

In software…
Shoot Raw files, and you can adjust the white balance at your leisure in Raw processing software, such as the Adobe Camera Raw plug-in that comes with Photoshop Elements – the options are similar to those on your camera.
You can use sliders to refine the colour balance, and there’s also a White Balance tool; click on a neutral tone in an image with this to set the white balance.
But what if a scene doesn’t contain any neutral tones? The answer is to place a piece of white or grey card in the scene at the shooting stage. It only needs to be in place for one frame, as you can use this to adjust the white balance across all images taken in the same light.
1. Set up a reference card

Place the white or grey card in the same light as the focal point of your picture. Choose a white balance preset on your camera, such as Daylight, and make sure you’re shooting Raw quality files.
2. Open the reference shot

Take a shot with the card in the frame, then remove it and carry on shooting. Later, in Elements, open the card image and click on the card with the White Balance tool. Note the values for Temperature and Tint, then manually enter these for your other Raw files taken under the same light.
3. Camera Raw in CS

The Photoshop CS version of Adobe Camera Raw features Select All and Synchronise buttons. These enable you to set the white balance for a series of images.
4. Select and synchronise

Select all the shots taken in the same light as the ‘card’ shot, then click on the white card and watch the magic happen! Alternatively, you can click Synchronise to synchronise WB and other selected settings.

How to set a custom white balance in camera…
Setting a custom white balance in-camera will save you time at the processing stage. Again, start with a white or grey card in the same light as your scene or main subject. We used a Canon camera for the purposes of this tutorial, but the process is similar with other cameras.
1. Take a shot of the card – it needs to fill the central area of the frame. Use any WB setting.

2. Select the Custom WB option in your camera’s shooting menu, and press SET.

3. Scroll through your images until you find the shot of the white card. Press SET, then OK.

4. Open the white balance menu and choose the Custom symbol to use the new white balance setting.

Source: www.digitalcameraworld.com

FREE High Quality Image


Created with flickr slideshow.

Popular Posts

@2014 FOTO Envy All Right Reserved. Powered by Blogger.

Like us on Facebook

Flickr Images